Photography is both Art and Science
Giving in to the geek in me
and in deference to all you geeks out there!
- Planning
- Shooting
- Post-Production
- Framing
- Lighting
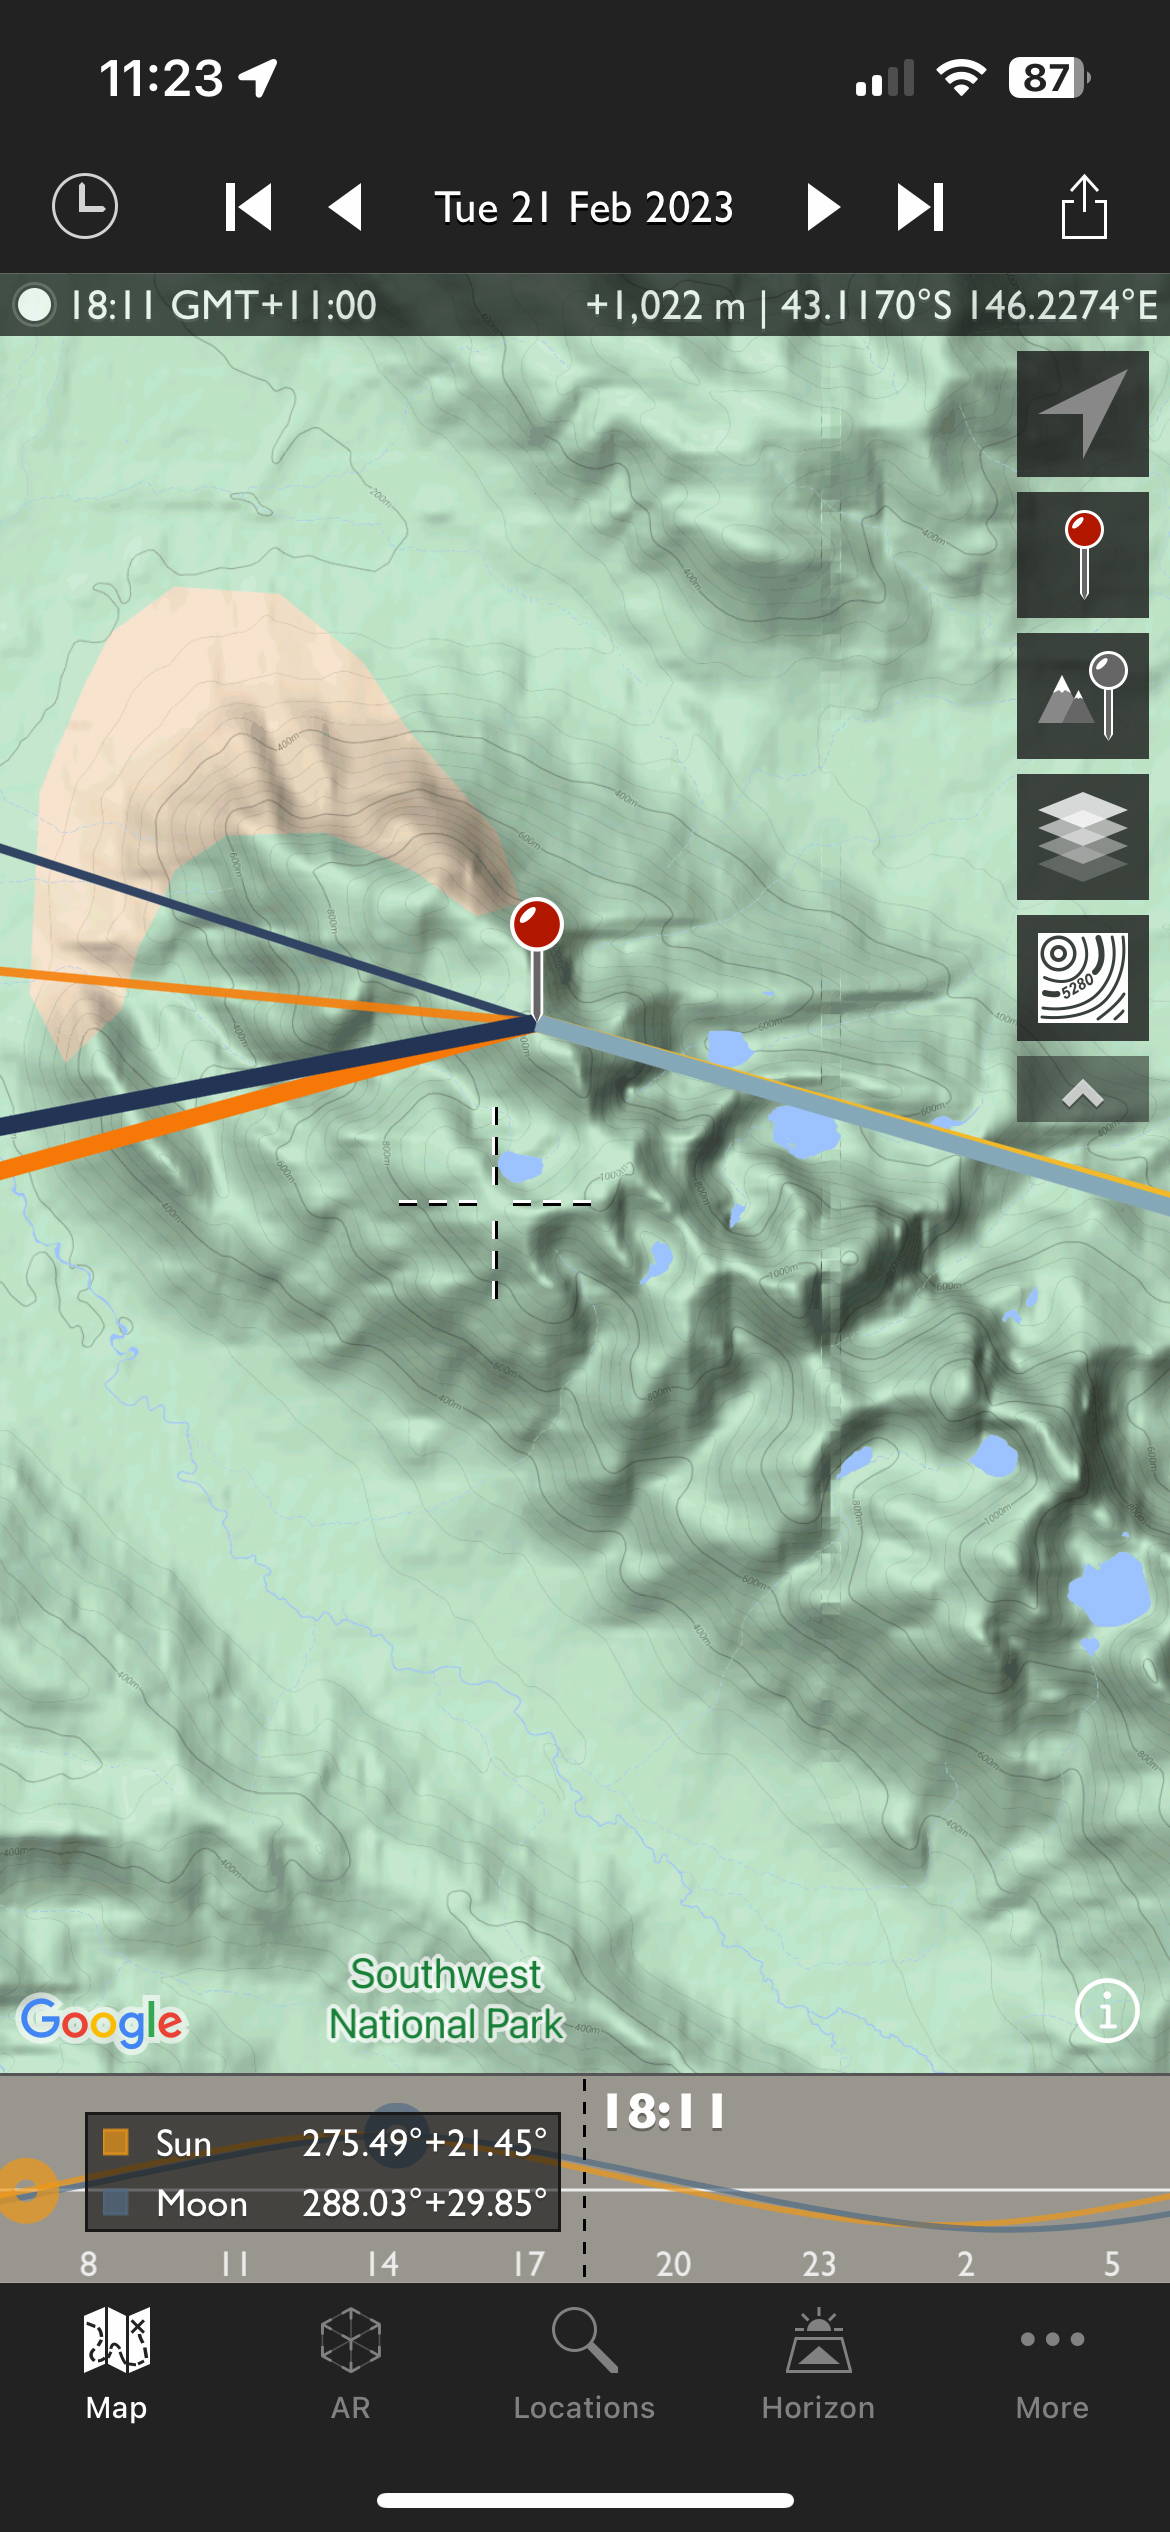
Here showing the time and location from where Out Under The Sky was taken
Soft Planning
Before even leaving the house finding locations which would potentially yield great photographs is really about having a certain mindset. Whether it is watching movies or television shows, reading magazines or books or surfing the web, the photographer is always on the lookout for vistas and terrain that catch the eye. Being in tune with the potential of these visuals has led to the development of my bucket list and as I have begun to act upon those wishes the images (both imagined and unconsidered) have started to come to fruition.
Being on location adds a whole other dimension to that imagining. I find my eye casting everywhere as I walk or drive - framing and
re-framing looking for that interesting shot. At first this requires quite some effort to maintain but after a time the process becomes second nature. There is a caveat here, in that visualising the image does not, in itself, take the shot - a bitter lesson I have had to learn a couple of times before it sank in. On a number of occasions I have seen the shot but not acted to actually take it, only to regret it later. For me, the last straw in this regard was a missed opportunity driving from Hobart to Freycent in Tasmania which I talk about in this blog post. After I missed this one I promised myself "never drive past - always stop and shoot".
When I do set up to take the shot the ever changing nature of light and atmosphere when out and about is the ultimate driver for how an individual landscape shot is approached and taken. The landscape photographer must always remain vigilant to changing conditions, the opportunities for a shot they may present or indeed the dangers they may represent. For example, even in poor weather a momentary break in the clouds may provide just the right illumination on a subject to create a unique image. Freycenet Dawn and Vayu (Air) are both great examples of that scenario.
Hard Planning
Despite this need to remain flexible in light of a fickle Mother Nature it is still important to approach landscape photography in a planned manner. Even if the ultimate subject of the shot is unknown, knowing where the sun or moon will be in the sky, what the weather outlook is for the area of interest or what sort of terrain to expect are all data points which guide the decisions of the photographer prior to leaving the comforts of home.
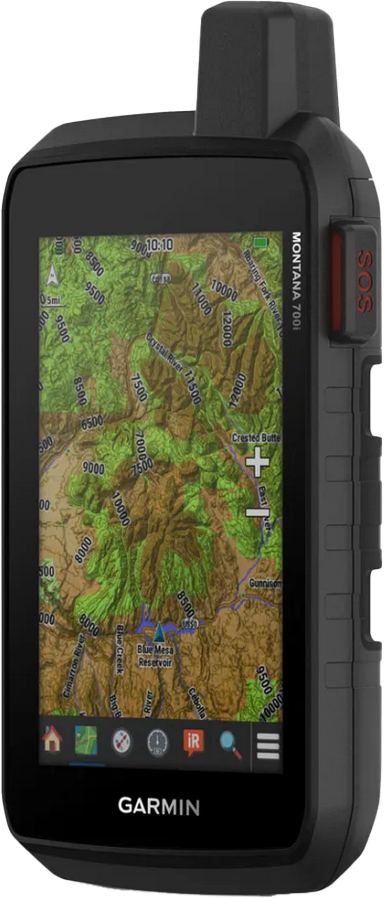
I like to use 1:25000 Topological maps and my Garmin Montana 700i GPS to understand the terrain, I use an Australian service called Cloud Free Night to get access to accurate cloud-cover, rainfall and moonlight data. Cloud Free Night is a fantastic service which provides me with detailed multi-day cloud cover forecasts in map and chart form. I find the hour by hour map data particularly handy as I can examine the cover at high, medium and low altitudes. This gives me a very good idea of the likely lighting conditions at dawn and dusk - especially the 2 periods of Golden Hour* around these events.
*Golden Hour - the time period at dawn and dusk when
the sun is in the 0°-6° range above the horizon.
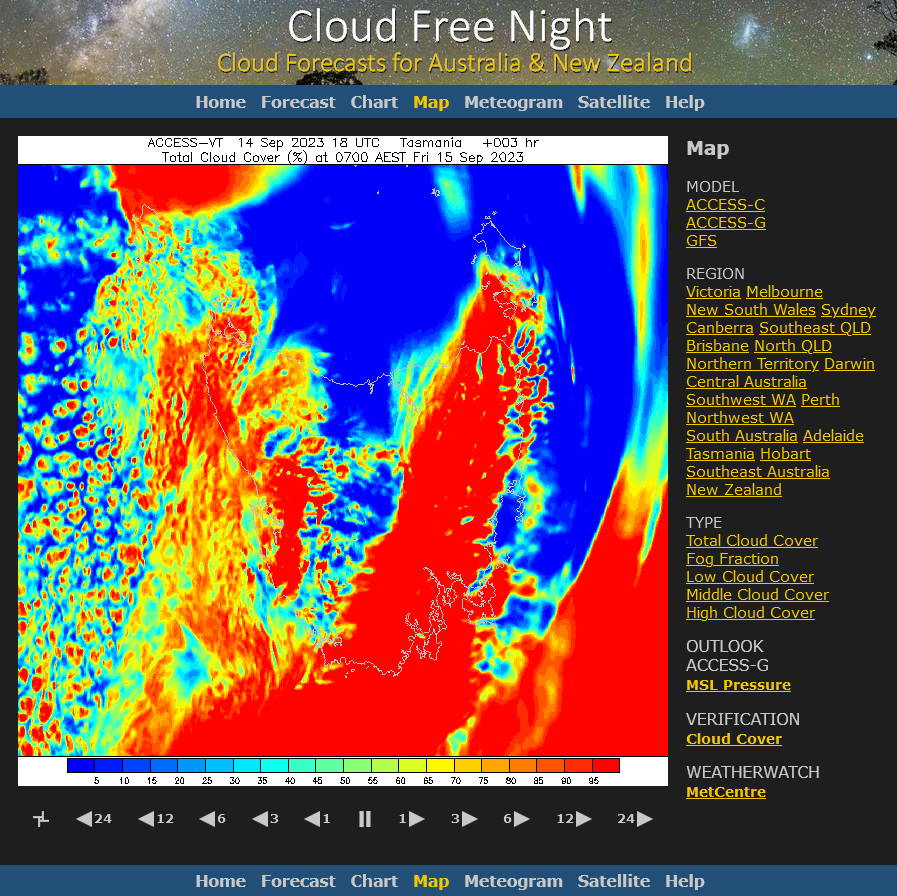
Cloud Free Night - cloud cover animation
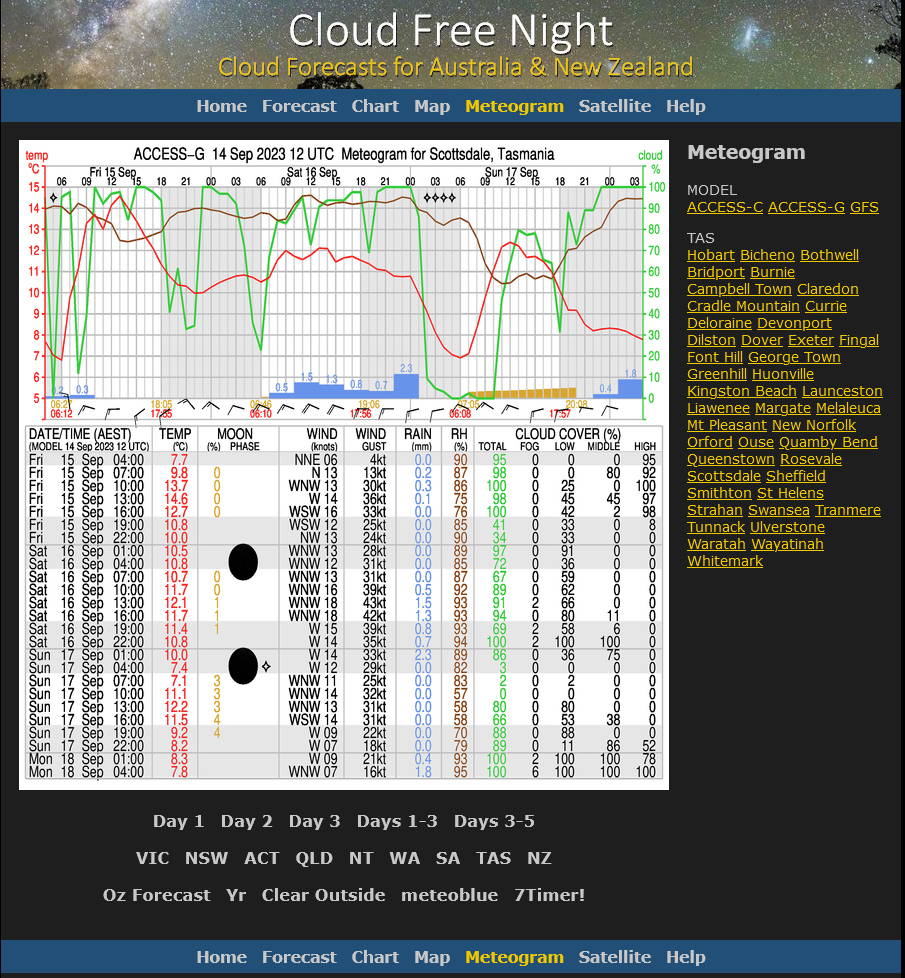
Cloud Free Night - 3-day cloud cover charts
The Photographer’s Ephemeris is a trademark of Crookneck Consulting LLC, registered in the United States.
Please visit their website at https://photoephemeris.com for more details
All other trademarks and logos remain the property of their respective owners
Planning
The ever changing nature of light and atmosphere when out and about is the ultimate driver for how an individual landscape shot is approached and taken. The landscape photographer must always remain vigilant to changing conditions, the opportunities for a shot they may present or indeed the dangers they may represent. For example, even in poor weather a momentary break in the clouds may provide just the right illumination on a subject to create a unique image. Freycenet Dawn and Vayu (Air) are both great examples of that scenario.
Despite this need to remain flexible in light of a fickle Mother Nature it is still important to approach landscape photography in a planned manner. Even if the ultimate subject of the shot is unknown knowing where the sun or moon will be in the sky, what the weather outlook is for the area of interest or what sort of terrain to expect are all data points which guide the decisions of the photographer prior to leaving the comforts of home.
I like to use 1:25000 Topological maps and my Garmin Montana 700i GPS to understand the terrain, I use an Australian service called Cloud Free Night to get access to accurate cloud-cover, rainfall and moonlight data. Cloud Free Night is a fantastic service which provides me with detailed multi-day cloud cover forecasts in map and chart form. I find the hour by hour map data particularly handy as I can examine the cover at high, medium and low altitudes. This gives me a very good idea of the likely lighting conditions at dawn and dusk - especially the 2 periods of Golden Hour* around these events.
*Golden Hour - the time period at dawn and dusk when
the sun is in the 0°-6° range above the horizon.
The Photographer's Ephemeris
Here showing the time and location from which Out Under The Sky was taken
Cloud Free Night - cloud cover animation
Cloud Free Night - 3-day cloud cover charts
The Photographer’s Ephemeris is a trademark of Crookneck Consulting LLC, registered in the United States.
Please visit their website at https://photoephemeris.com for more details
All other trademarks and logos remain the property of their respective owners
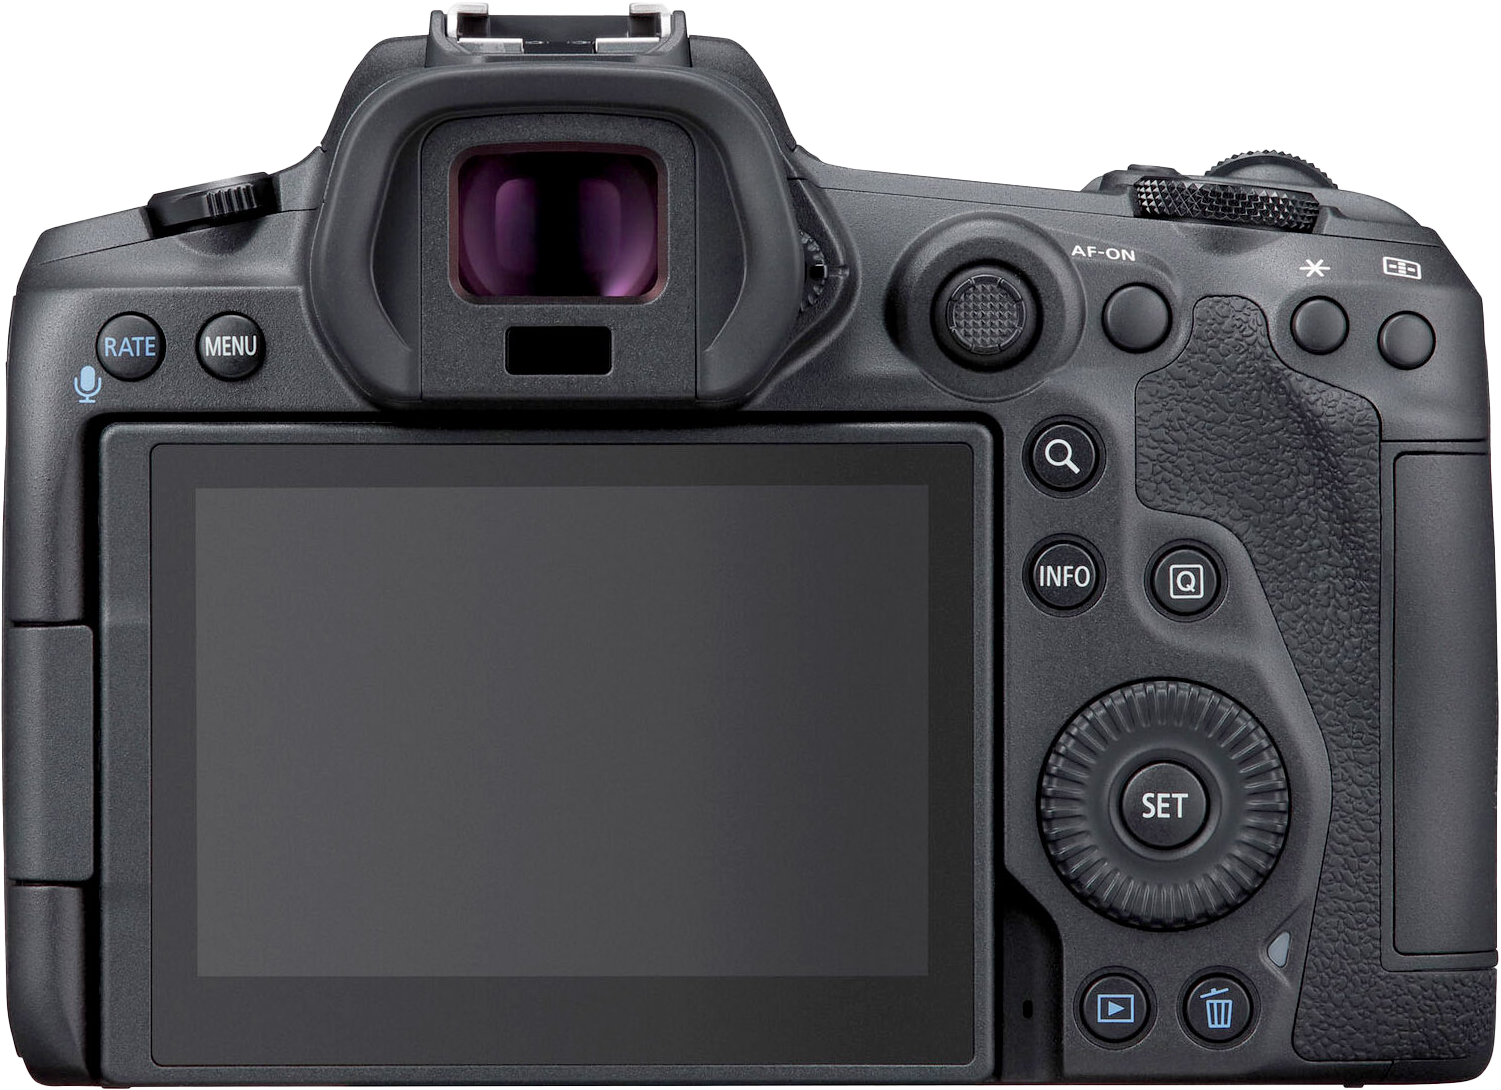
My Gear
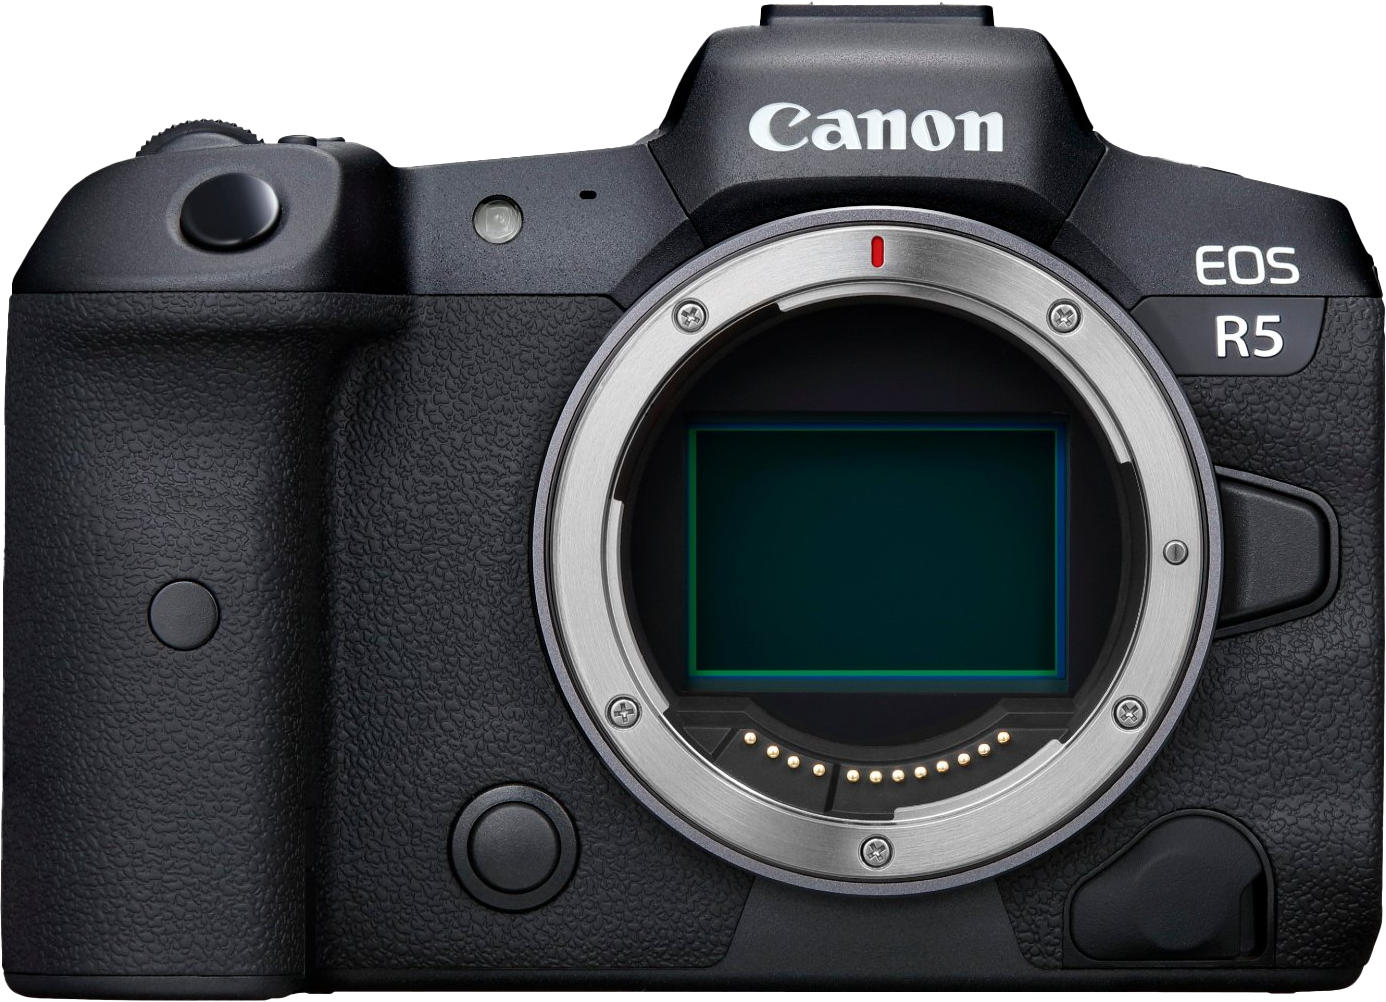
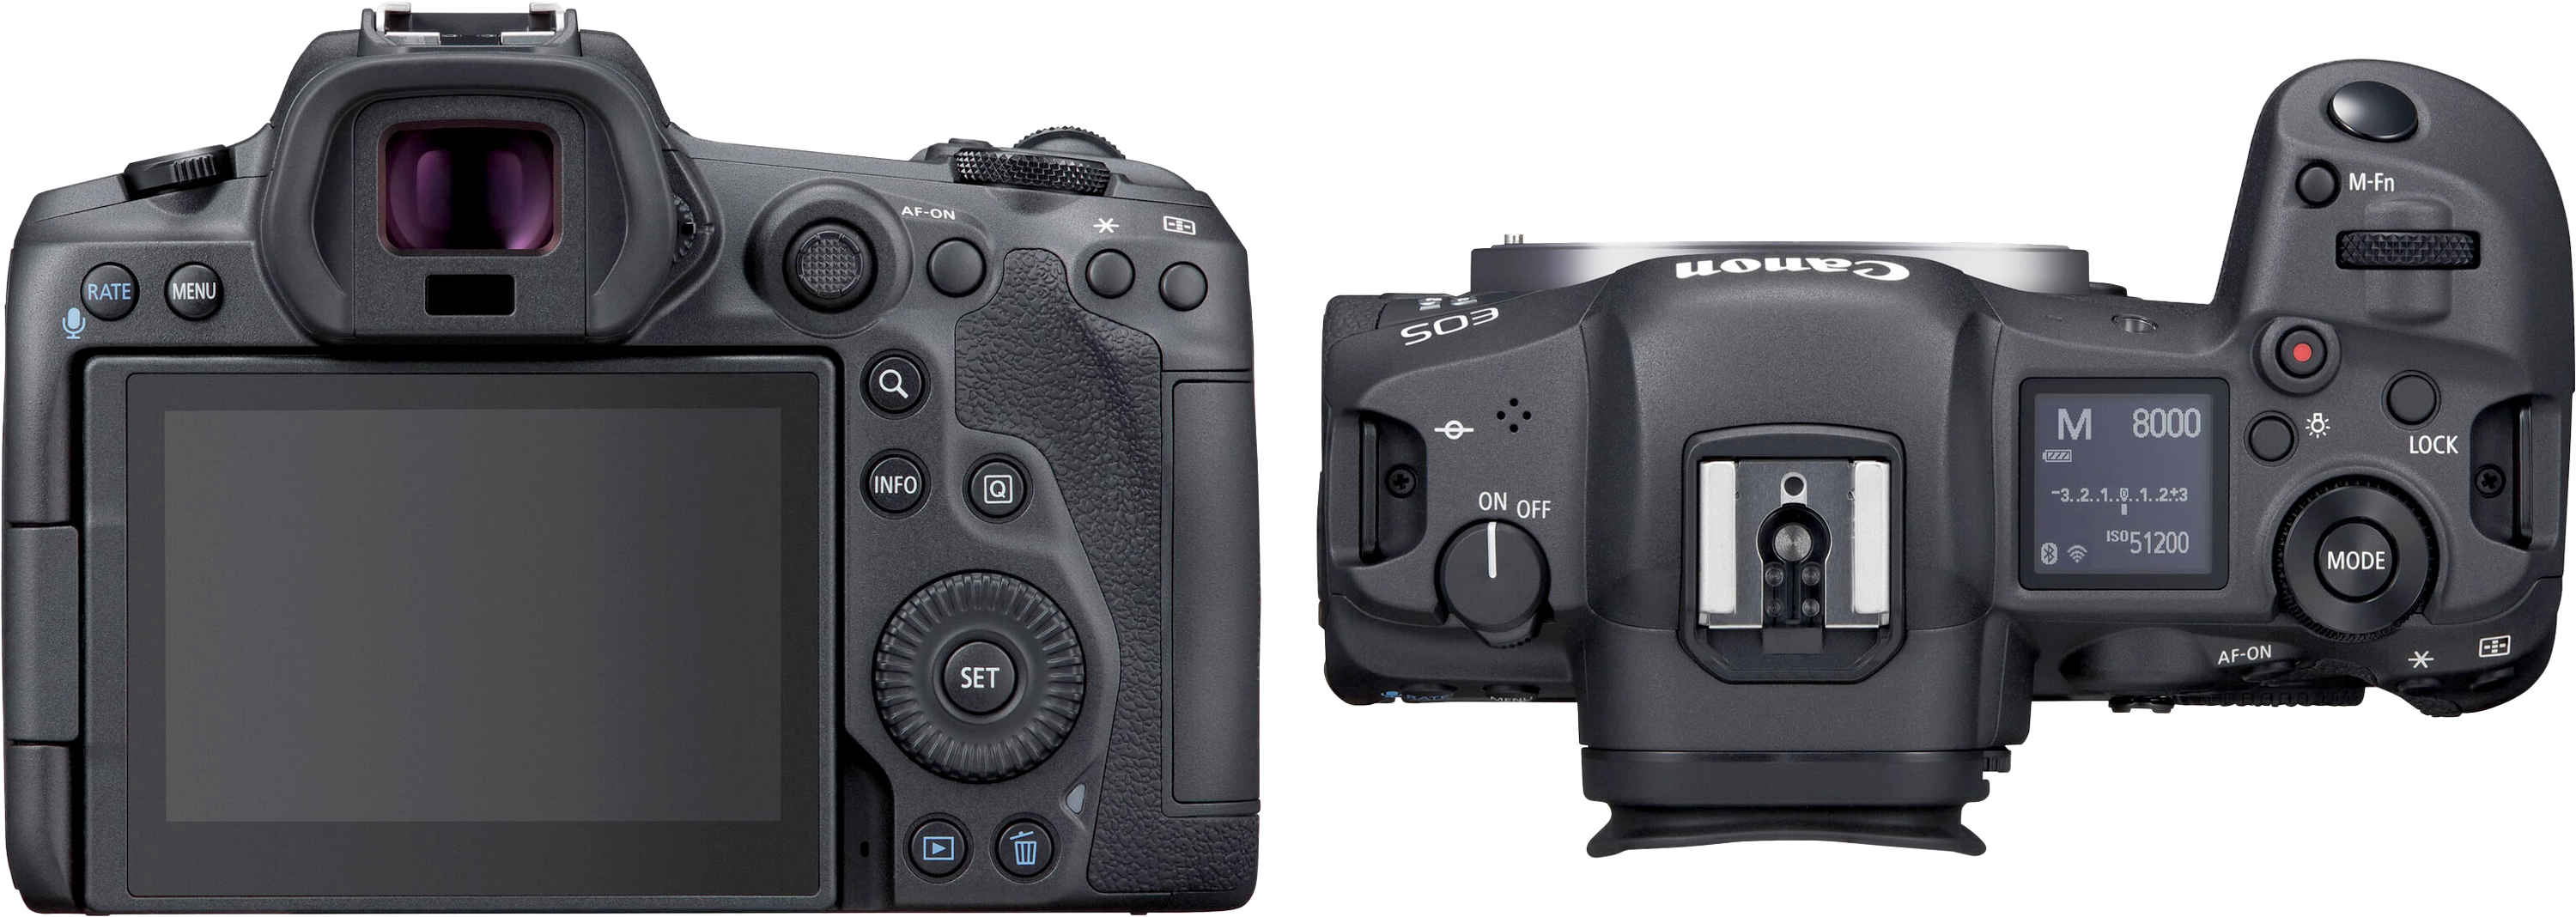
I just love my Canon R5!
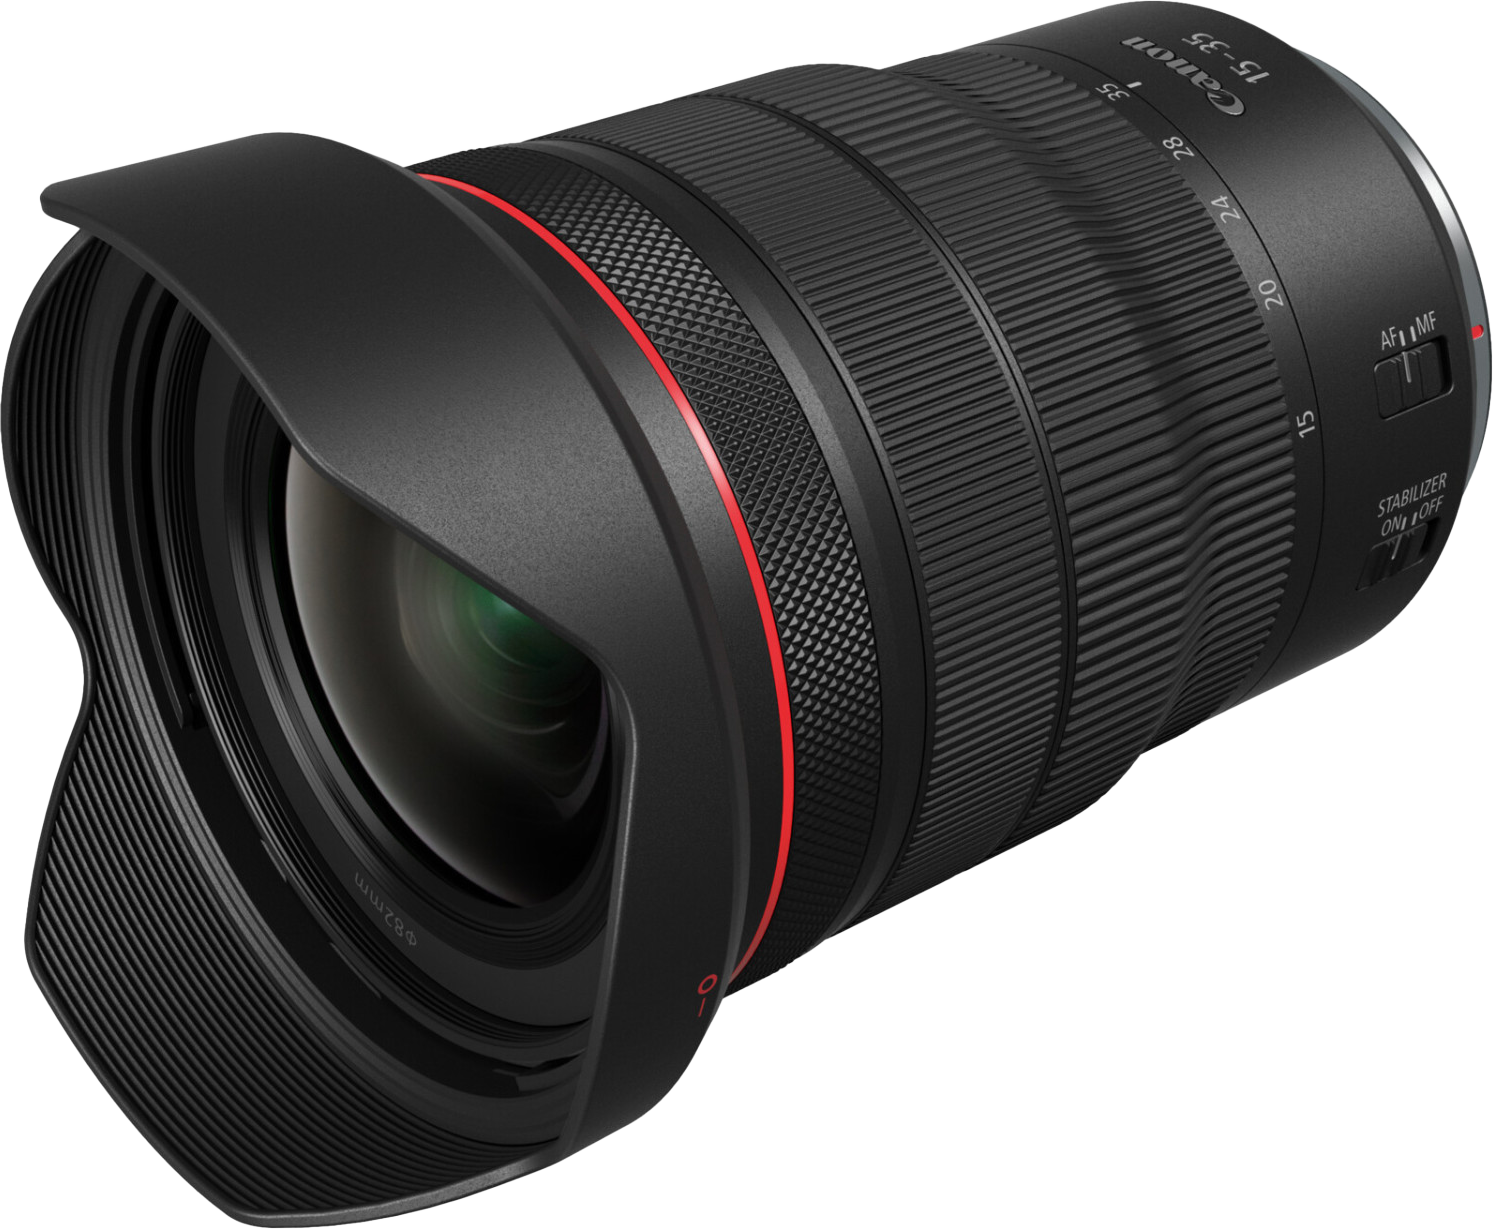
Canon RF 15-35mm f/2.8 L IS USM
This lens is my day to day work horse. The clarity and light gathering is such a step up from the old kit lenses on my 7D.
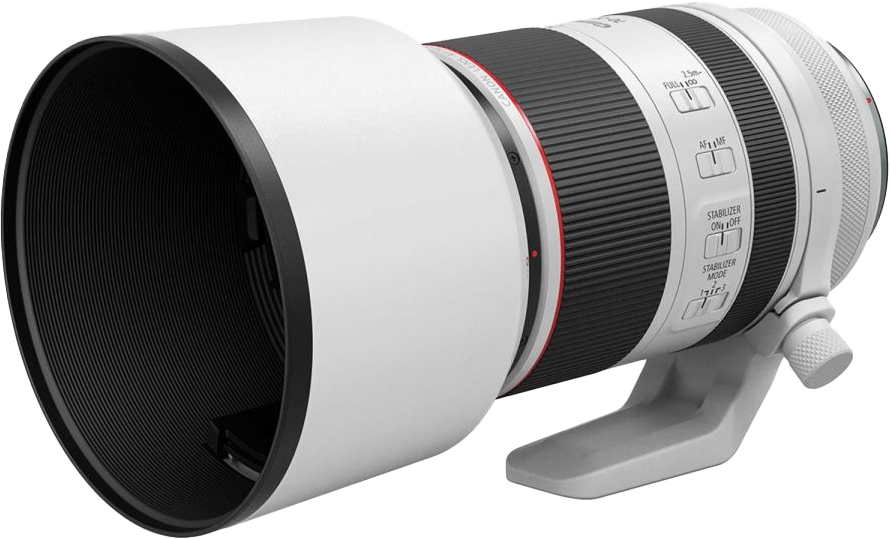
Canon RF 70-200mm f/2.8 L IS USM
This lens is great for capturing elements of the landscape or tightening the framing of panoramas.
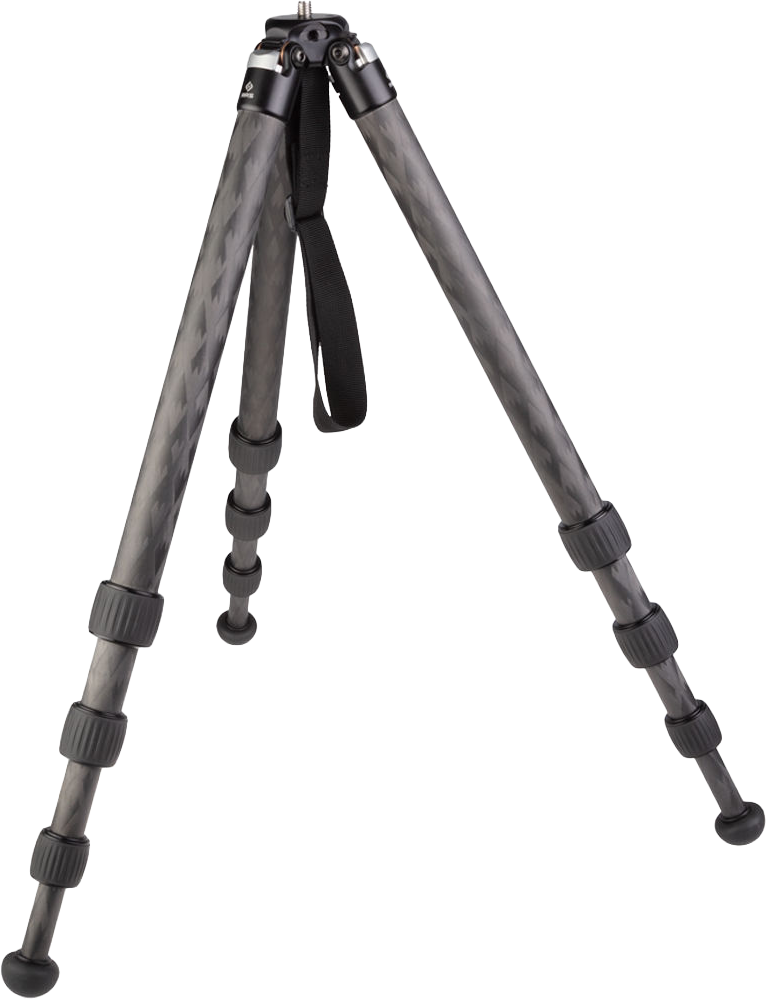
Really Right Stuff Ultralight TFC-24L Mk II
Only 1.6kg and fantastically tough. It has taken whatever was thrown at it and just keeps going.
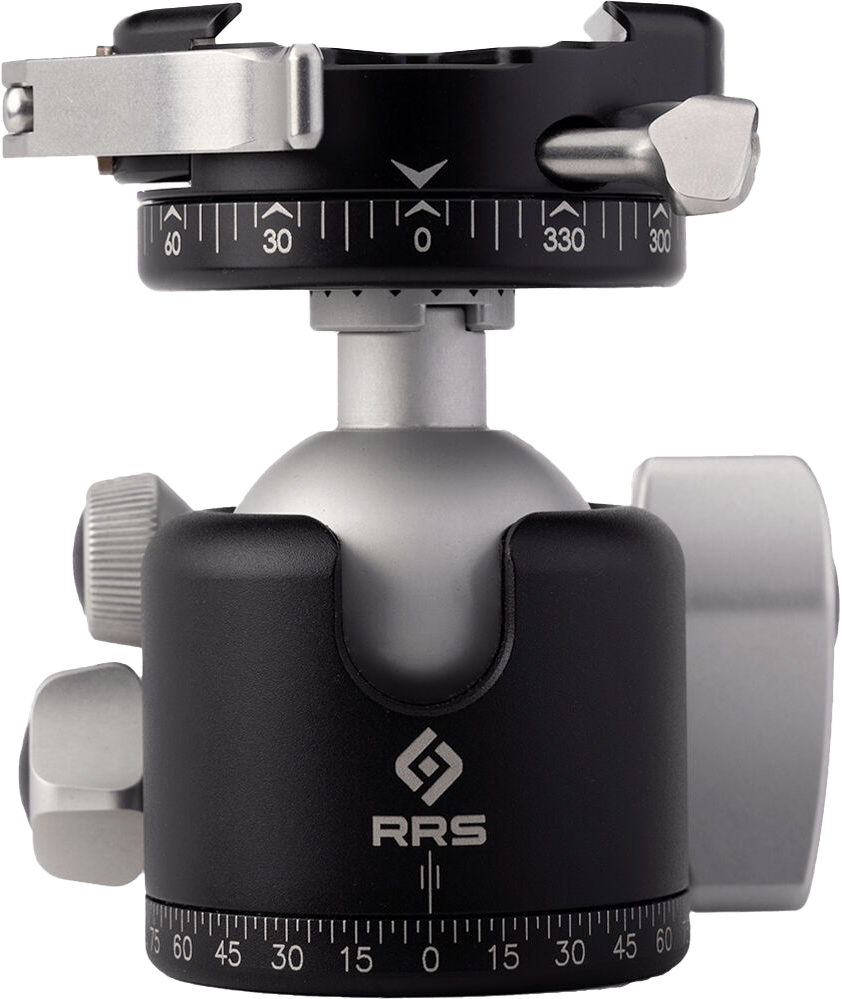
Really Right Stuff BH-40 Ballhead
with panning platform and quick release lever. Accurate and precise with reliable clamping.
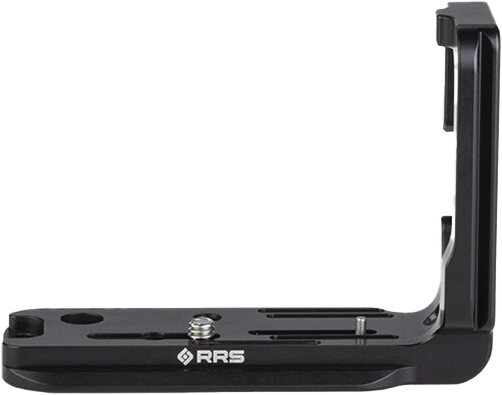
After a little practice this plate becomes indispensable for swapping between portrait and landscape
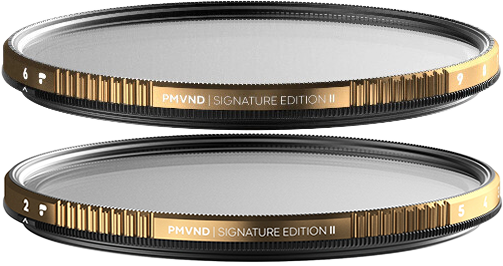
Polar Pro Variable Neutral Density Filters
These Peter McKinnon Signature Edition II VND filters are superb. Excellent clarity and a wonderful haptic feedback system. I have a 2-5 and a 6-9 stop.
Image Display
- I use 2 x EV2455 FlexScan EIZO calibrated displays.
- Driven by an Nvidia P4000 Quadro graphics card with 8GB 256-bit GDDR5
- They are regularly calibrated using an X-Rite i1 Display Pro calibration tool
Image import and storage
I use Adobe Lightroom to import and perform intake processing on all of my images.
The image catalog and all of the raw files are stored on a self-built TrueNAS network attached storage device. The NAS runs ZFS and is currently 64Tb capacity with 64Gb of ECC RAM and 8 processor cores.
I chose ZFS so that I can continue to replace disks with larger ones to increase capacity and not run into the "maximum file system size" problems that can arise with other file systems.
HDR and Panorama Stitching
I use Adobe Lightroom as my HDR merging and panorama stitching workhorse.
Very occasionally I use Adobe Photoshop although I suspect the engines are the same for both.
For very difficult stitches I use PTGui. However, I have found that the majority of difficult stitches are actually impossible due to overlap errors.
Image processing
Wayback in the dim and distant past (1990 to be precise!) I started using page layout software called Aldus PageMaker. This eventually became Adobe PageMaker and then Adobe InDesign.
During that time I had a small graphic design business and was also using Adobe Illustrator. The use of these two eventually led me to use Adobe Photoshop when I started taking photographs so it seemed only logical to take a subscription to Adobe's Creative Cloud when they brought it out.
Now my A$80 a month gives me access to all these industry standard tools Lightroom, Photoshop, Illustrator and InDesign and, collectively, they make the process of creation pretty seamless and straightforward.
I use Creative Cloud in the following ways:
- Lightroom - Catalog Management, Lens correction, Clarity, Dehaze, Exposure, Simple Masking
- Photoshop - Spot Healing, Luminosity Masking, Complex Masking, Printer Profile Correction
- Illustrator - Graphic design
- InDesign - Document design, Book design and layout
I also use an excellent suite of AI driven processing tools for noise reduction, image sharpening and image enlargement from Topaz Labs. I find their products produce a very natural result free of the digital "blockiness" I have experienced when using other tools. The Topaz Labs tools are:
I have just begun to use Topaz PhotoAI which is a merging of the 3 tools above into a single interface. Topaz Labs also have a great video enhancement tool called Topaz VideoAI.
Last, but not least, I use the Wacom Intuos Pro M wireless drawing tablet. It has excellent drivers for the Creative Cloud Suite and makes the processing of images a much more natural experience compared to using a mouse.
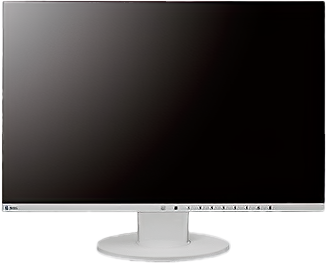
FlexScan EV2455

Nvidia P4000 Quadro

X-Rite i1 Display Pro
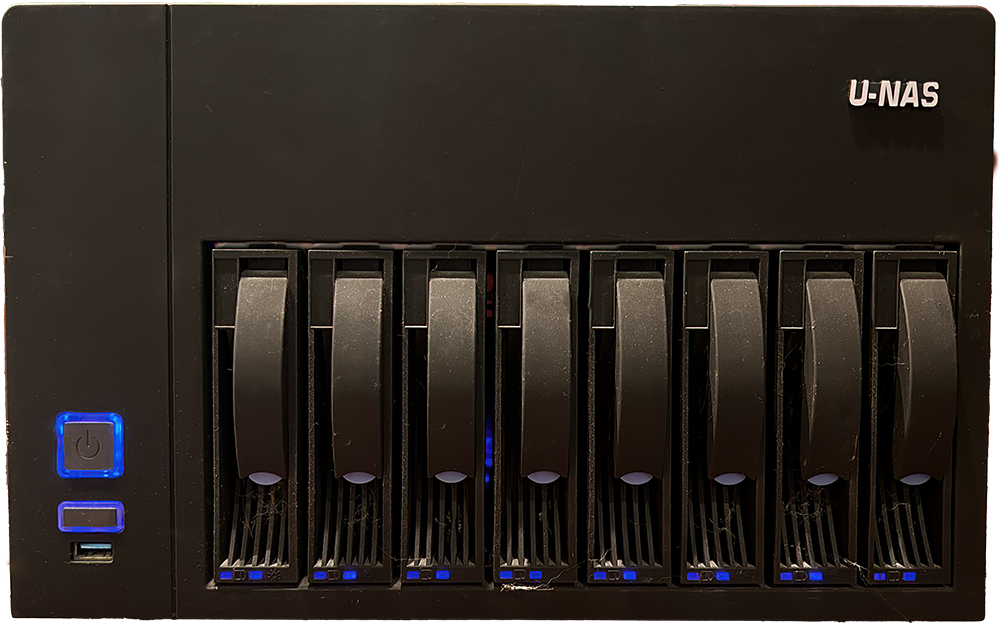
Custom NAS using TrueNAS
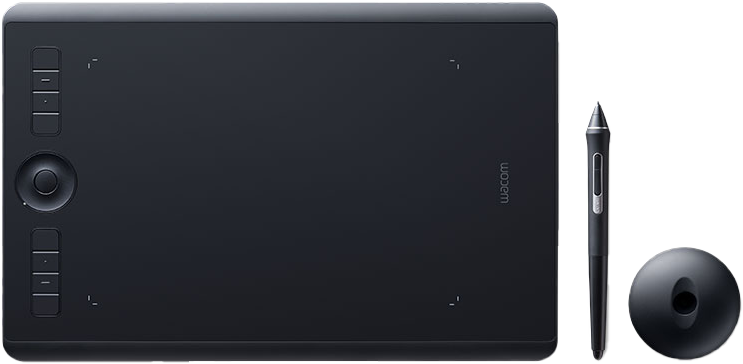
Wacom Intuos Pro M
Image Display
- I use 2 x EV2455 FlexScan EIZO calibrated displays.
- Driven by an Nvidia P4000 Quadro graphics card with 8GB 256-bit GDDR5
- They are regularly calibrated using an X-Rite i1 Display Pro calibration tool
Image import and storage
I use Adobe Lightroom to import and perform intake processing on all of my images.
The image catalog and all of the raw files are stored on a self-built TrueNAS network attached storage device. The NAS runs ZFS and is currently 64Tb capacity with 64Gb of ECC RAM and 8 processor cores.
I chose ZFS so that I can continue to replace disks with larger ones to increase capacity and not run into the "maximum file system size" problems that can arise with other file systems.
HDR and Panorama Stitching
I use Adobe Lightroom as my HDR merging and panorama stitching workhorse.
Very occasionally I use Adobe Photoshop although I suspect the engines are the same for both.
For very difficult stitches I use PTGui. However, I have found that the majority of difficult stitches are actually impossible due to overlap errors.
Image processing
Wayback in the dim and distant past (1990 to be precise!) I started using page layout software called Aldus PageMaker. This eventually became Adobe PageMaker and then Adobe InDesign.
During that time I had a small graphic design business and was also using Adobe Illustrator. The use of these two eventually led me to use Adobe Photoshop when I started taking photographs so it seemed only logical to take a subscription to Adobe's Creative Cloud when they brought it out.
Now my A$80 a month gives me access to all these industry standard tools Lightroom, Photoshop, Illustrator and InDesign and, collectively, they make the process of creation pretty seamless and straightforward.
I use Creative Cloud in the following ways:
- Lightroom - Catalog Management, Lens correction, Clarity, Dehaze, Exposure, Simple Masking
- Photoshop - Spot Healing, Luminosity Masking, Complex Masking, Printer Profile Correction
- Illustrator - Graphic design
- InDesign - Document design, Book design and layout
I also use an excellent suite of AI driven processing tools for noise reduction, image sharpening and image enlargement from Topaz Labs. I find their products produce a very natural result free of the digital "blockiness" I have experienced when using other tools. The Topaz Labs tools are:
I have just begun to use Topaz PhotoAI which is a merging of the 3 tools above into a single interface. Topaz Labs also have a great video enhancement tool called Topaz VideoAI.
Last, but not least, I use the Wacom Intuos Pro M wireless drawing tablet. It has excellent drivers for the Creative Cloud Suite and makes the processing of images a much more natural experience compared to using a mouse.
FlexScan EV2455
Nvidia P4000 Quadro
X-Rite i! Display Pro
Custom NAS using TrueNAS
Wacom Intuos Pro M
Framing & Handling
I want to say at the outset that framing aesthetics are very much a personal preference and the advice here focuses on the more technical reasons for framing and mounting in the manner described. You are, of course, free to frame and mount the images you purchase in a manner that suits you and/or the room into which the image is to be placed!
I reproduce all of my images using archival quality materials to ensure that your investment has the best chance of lasting for a very long time. I work closely with the wonderful Warren Macris at High Res Digital here in Sydney who brings a wealth of experience to the printing and retouching processes. Warren's many years in the business ensures that the end-to-end process from paper and ink quality to printer calibration and print production is carried out to the highest standards. Throughout the process all paper and prints are carefully handled with cotton gloves to avoid the transfer of acidic oils from the hands to the print or paper margins. The prints are then transported to you in large diameter tubes packed inside appropriately sized shipping cartons which ensures a minimum of bending stress on the print paper and excellent protection from crushing damage.
All of these procedures and precautions ensure that the print you have purchased arrives in perfect condition but it is important to realize that to truly protect your print over the long haul it must either be stored carefully in an acid-free album or else framed appropriately to protect it from moisture, acidity and UV radiation.
These notes provide you with a framing specification which you can take to your framer of choice and get a frame which will deliver the protection your investment deserves.
General Principles
The frame should house and protect the image but not draw attention to itself.
Try to keep all visible framing elements dark so as not to distort your vision’s
interpretation of the image’s white balance. When your eye falls upon an image it seeks out the brightest points within the image and uses this white level to set a white balance for the scene being viewed. If the frame includes a large white border then your vision will use that as the "calibrating" white for the entire image. By keeping the framing dark this ensures that it is the white components of the image which set this calibration and so the image is viewed as the camera (and the author!) intended.
Always handle the image with cotton gloves to avoid transfer of low pH fluids
from the hands to the paper. The acidic nature of the skin's oils and sweat can adversely affect the paper by damaging the structure of the paper and leaving it vulnerable to oxidative damage and marking.
Framing Stack
I build up a stack of elements to put into the frame as follows:
(the order is front to back from where the picture is viewed)
- Frame
- Glass
- Mat
- Image
- Backing Mat
- Backing Foam
Stack Properties
Frame
Image Size Suggested Width
Mural 6-9cm (2.5”-3.5”)
Feature 4-6cm (1.5”-2.5”)
Nook 2.5-4cm (1”-1.5”)
Color: Black
Glass
Non Reflective
99% UV Resistant
2.5mm thick
Conservation Grade
Matte finish
Mat
Museum Grade
Black
Acid Free
I usually make the window slightly smaller than the image by
2mm (~0.1”) all around
Suggested width of the mat borders
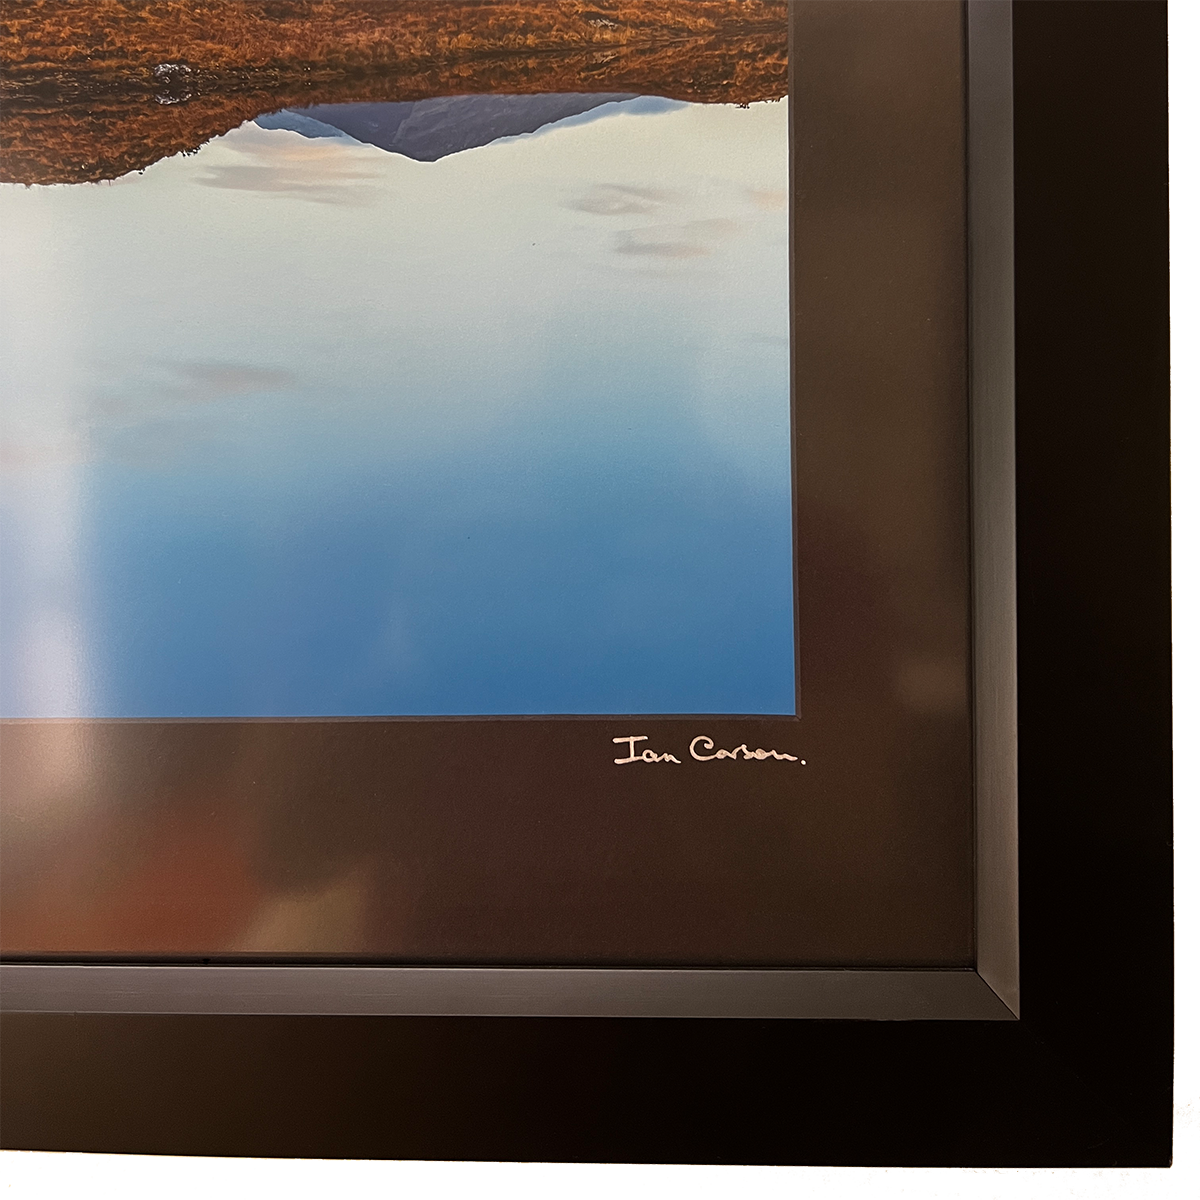
This is a matter of taste although along the bottom to it should be
large enough to accommodate the print’s authenticity embossing:
Mural
70mm - Top, Left, Right
90mm - Bottom
Feature
50mm - Top, Left, Right
70mm - Bottom
Nook
30mm - Top, Left, Right
50mm - Bottom
Image
It’s printed on Hahnemühle Photo Rag 308gsm Ultra Smooth
Using these print margins:
Mural
40mm - Top, Left, Right
80mm - Bottom
Feature
20mm - Top, Left, Right
70mm - Bottom
Nook
20mm - Top, Left, Right
50mm - Bottom
Backing Mat
Museum Grade
White
Acid Free
Backing Foam
Non Adhesive
Acid Free
3-5mm thick (0.12”-0.2”) This will depend on the depth available
in the frame.
Miscellaneous
I use the following products (all Acid Free). Your framer may wish to use other products of course but it’s best if their choices are also acid-free
Sekisui Framing Tape
- for sealing the frame
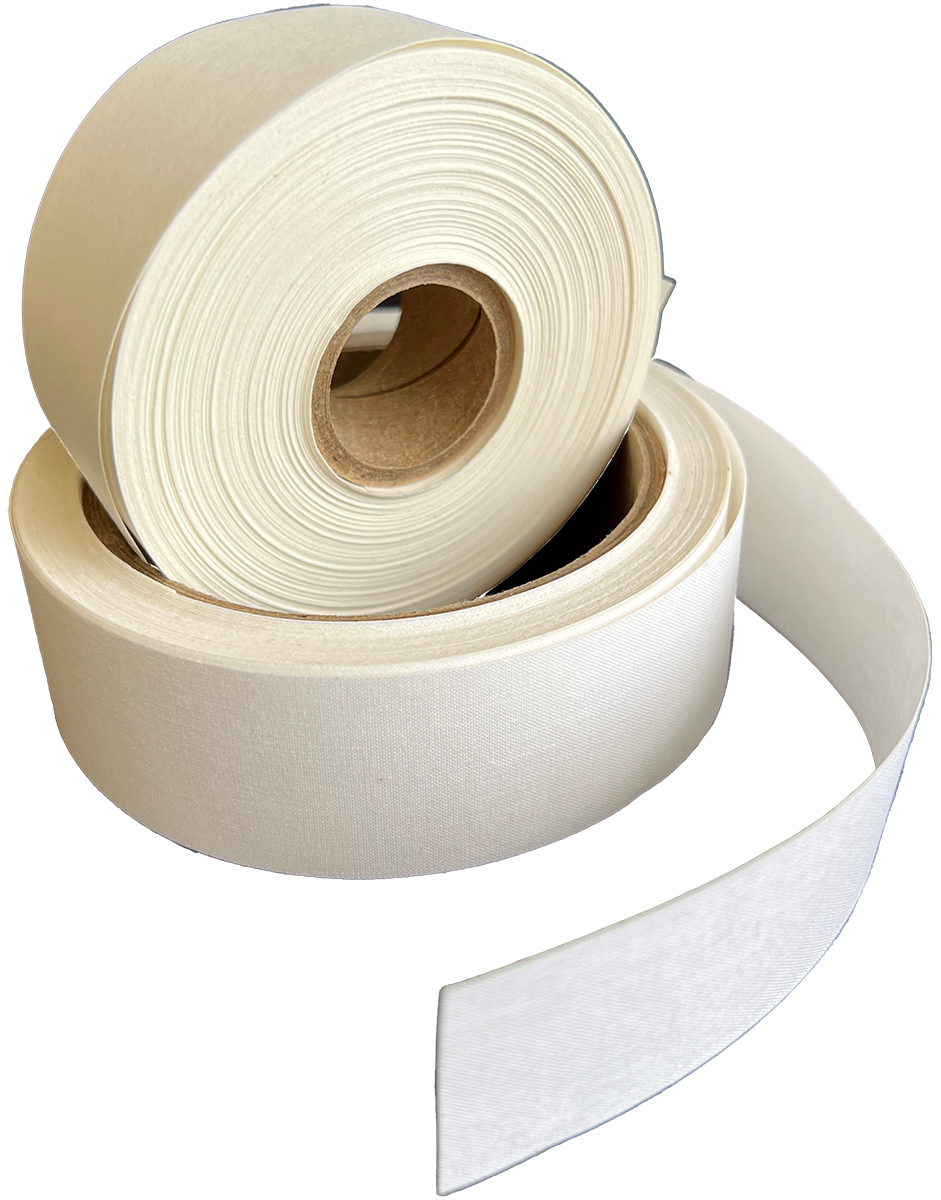
LineCo Self Adhesive Linen Hinging Tape
- for hinging the 2 Mats together
LineCo Gummed Paper Hinging Tape
- for attaching the image to the Backing Mat
The framing stack resulting from following the principles described here.
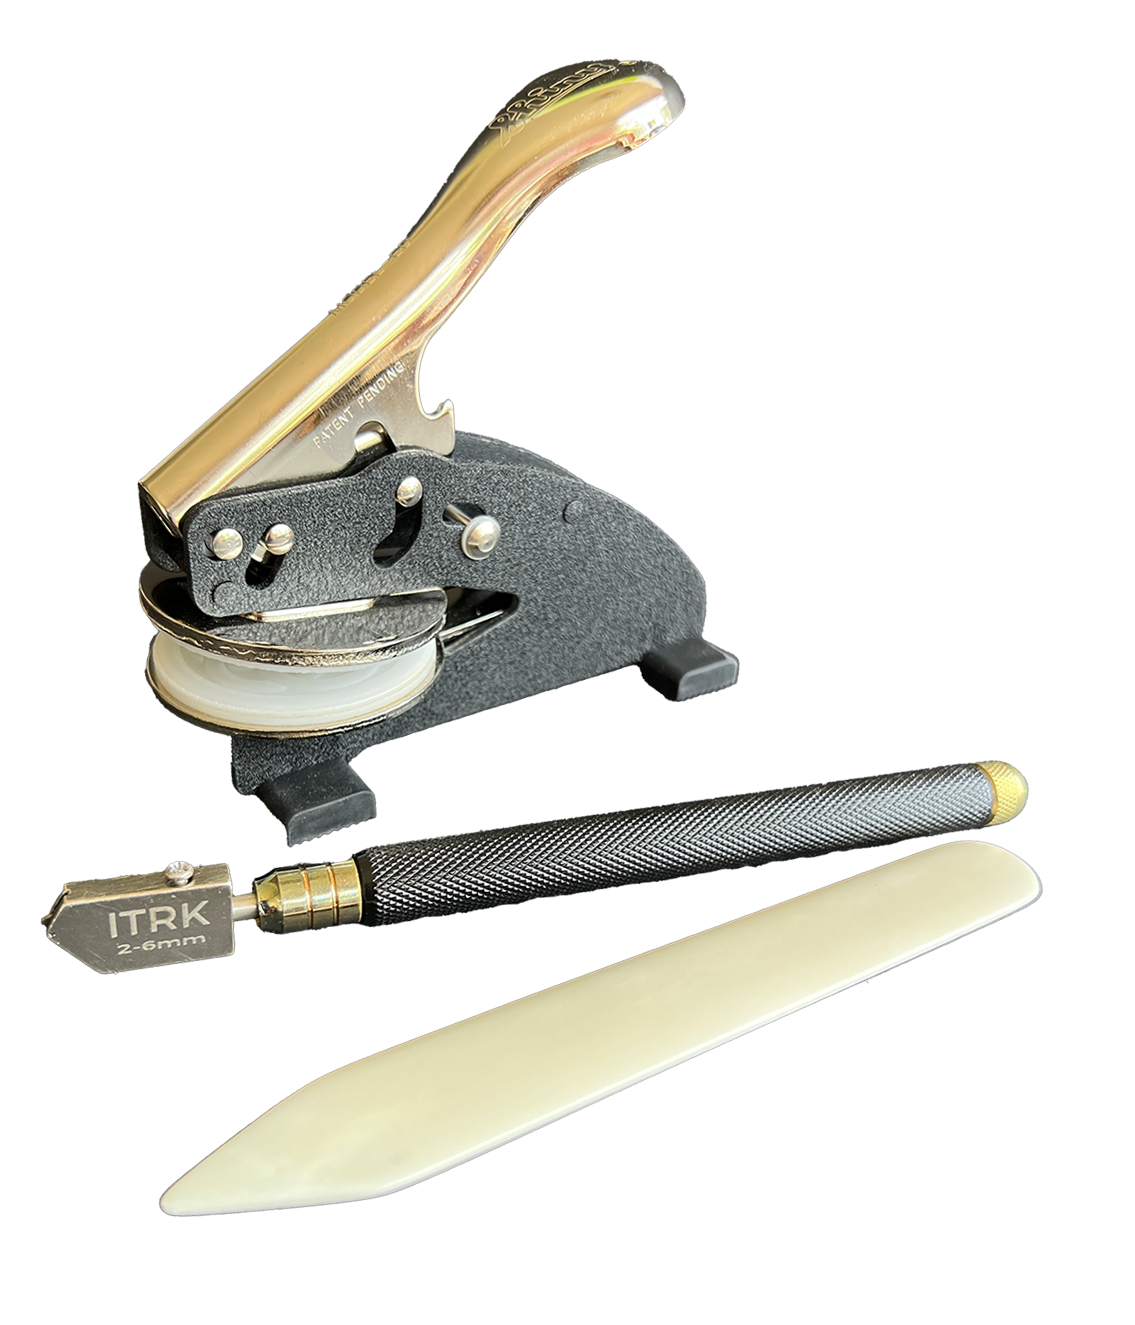
Embossing press, glass cutter and bone scraper
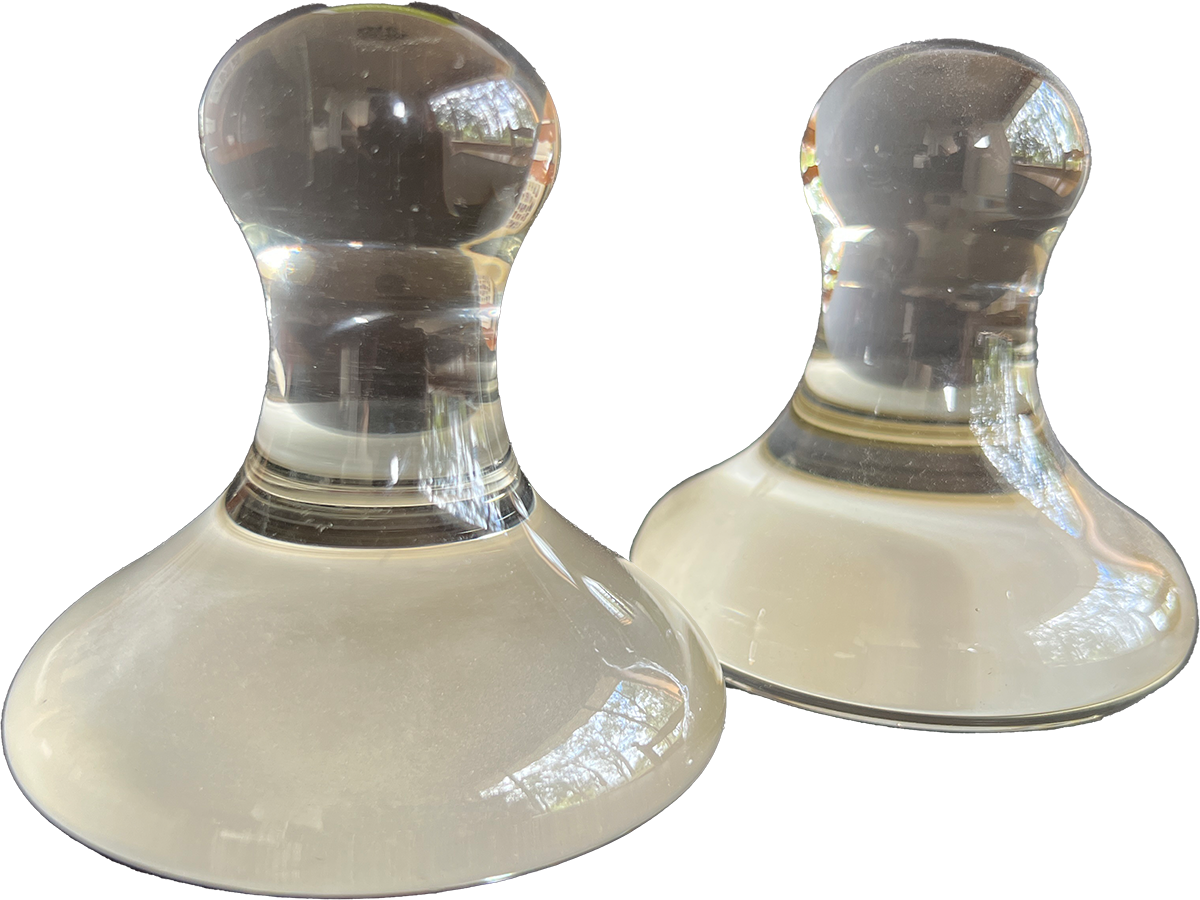
Glass weights used to hold the image steady when hinging the mat to the backing board
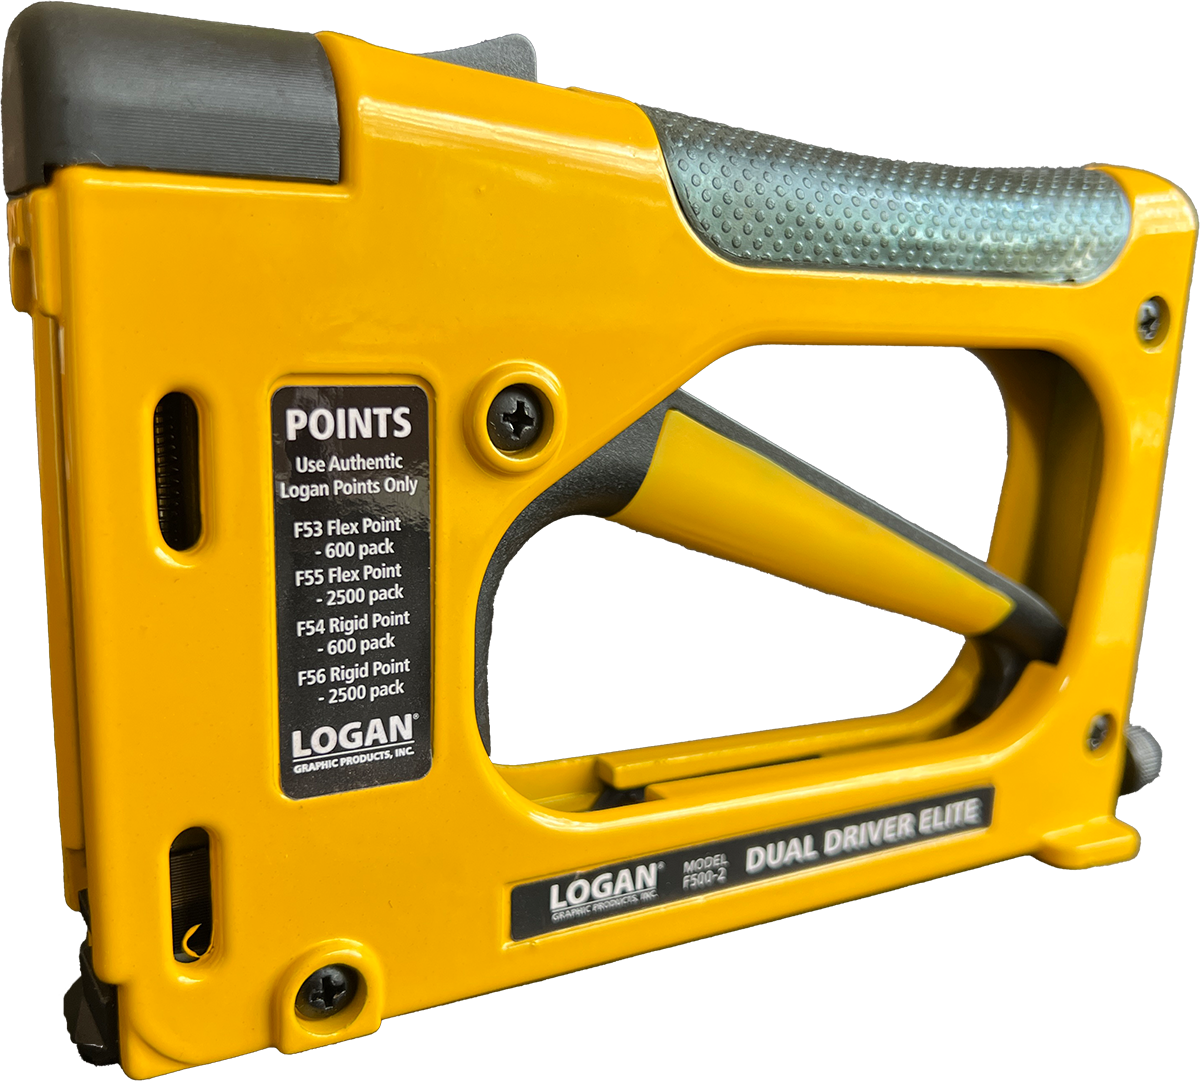
My Logan point driver for fixing the mounting stack into the frame
Self-adhesive linen hinging tape (lower roll) and gummed adhesive paper hinging tape (upper roll)
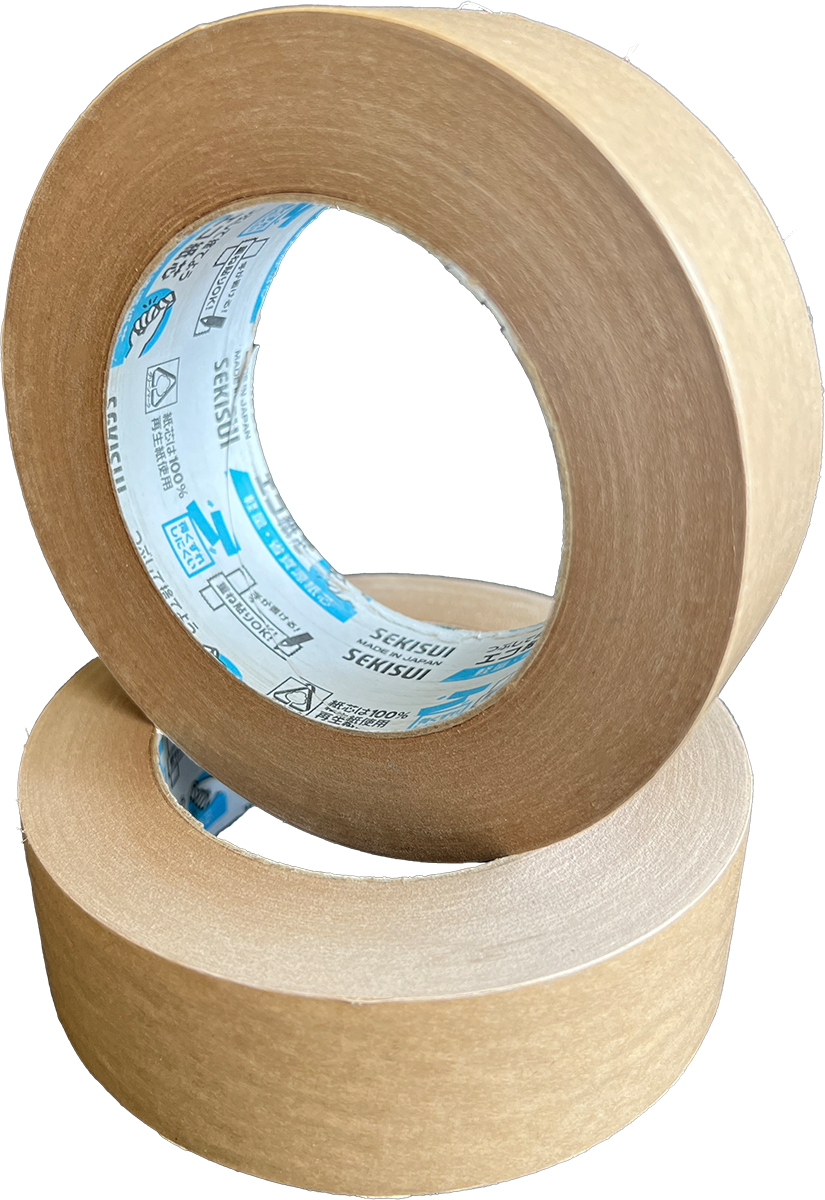
Sekisui 50mm (2") self-adhesive framing tape for creating a seal between the frame and the mounting stack
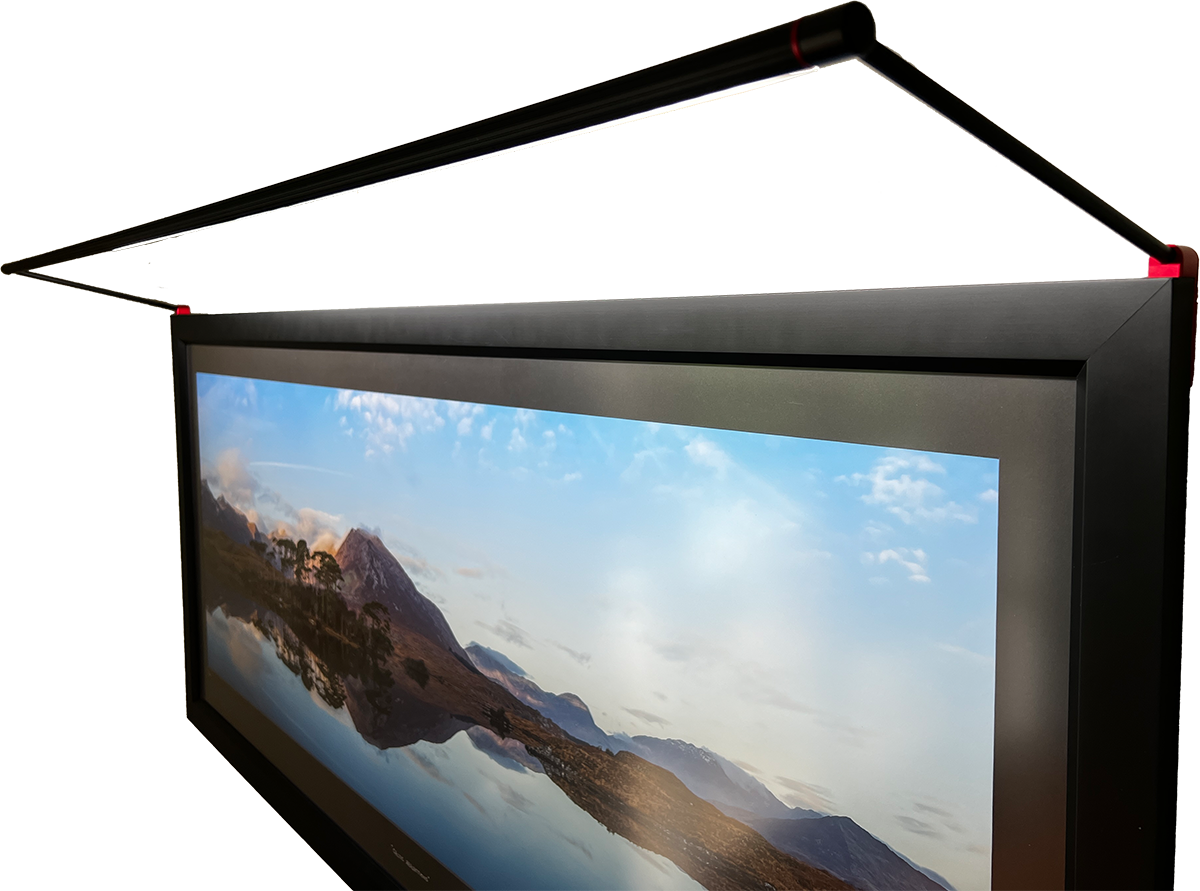
My prototype lightbar - CRI99@5000K


Photography is both
Art and Science
- Planning
- Shooting
- Post-Prod'n
- Framing
- Lighting
Planning
Before even leaving the house finding locations which would potentially yield great photographs is really about having a certain mindset. Whether it is watching movies or television shows, reading magazines or books or surfing the web, the photographer is always on the lookout for vistas and terrain that catch the eye. Being in tune with the potential of these visuals has lead to the development of my bucket list and as I have begun to act upon those wishes the images (both imagined and unconsidered) have started to come to fruition.
Being on location adds a whole other dimension to that imagining. I find my eye casting everywhere as I walk or drive - framing and re-framing looking for that interesting shot. At first this requires quite some effort to maintain but after a time the process becomes second nature. There is a caveat here, in that visualising the image does not, in itself, take the shot - a bitter lesson I have had to learn a couple of times before it sank in. On a number of occasions I have seen the shot but not acted to actually take it, only to regret it later. For me, the last straw in this regard was a missed opportunity driving from Hobart to Freycent in Tasmania which I talk about in this blog post. After I missed this one I promised myself "never drive past - always stop and shoot".
When I do set up to take the shot the ever changing nature of light and atmosphere when out and about is the ultimate driver for how an individual landscape shot is approached and taken. The landscape photographer must always remain vigilant to changing conditions, the opportunities for a shot they may present or indeed the dangers they may represent. For example, even in poor weather a momentary break in the clouds may provide just the right illumination on a subject to create a unique image. Freycenet Dawn and Vayu (Air) are both great examples of that scenario.
Despite this need to remain flexible in light of a fickle Mother Nature it is still important to approach landscape photography in a planned manner. Even if the ultimate subject of the shot is unknown, knowing where the sun or moon will be in the sky, what the weather outlook is for the area of interest or what sort of terrain to expect are all data points which guide the decisions of the photographer prior to leaving the comforts of home.
I like to use 1:25000 Topological maps and my Garmin Montana 700i GPS to understand the terrain, I use an Australian service called Cloud Free Night to get access to accurate cloud-cover, rainfall and moonlight data (see screenshots). Cloud Free Night is a fantastic service which provides me with detailed multi-day cloud cover forecasts in map and chart form. I find the hour by hour map data particularly handy as I can examine the cover at high, medium and low altitudes. This gives me a very good idea of the likely lighting conditions at dawn and dusk - especially the 2 periods of Golden Hour* around these events.
*Golden Hour - the time period at dawn and dusk when
the sun is in the 0°-6° range above the horizon.
Soft Planning
Before even leaving the house finding locations which would potentially yield great photographs is really about having a certain mindset. Whether it is watching movies or television shows, reading magazines or books or surfing the web, the photographer is always on the lookout for vistas and terrain that catch the eye. Being in tune with the potential of these visuals has led to the development of my bucket list and as I have begun to act upon those wishes the images (both imagined and unconsidered) have started to come to fruition.
Being on location adds a whole other dimension to that imagining. I find my eye casting everywhere as I walk or drive - framing and re-framing looking for that interesting shot. At first this requires quite some effort to maintain but after a time the process becomes second nature. There is a caveat here, in that visualising the image does not, in itself, take the shot - a bitter lesson I have had to learn a couple of times before it sank in. On a number of occasions I have seen the shot but not acted to actually take it, only to regret it later. For me, the last straw in this regard was a missed opportunity driving from Hobart to Freycent in Tasmania which I talk about in this blog post. After I missed this one I promised myself "never drive past - always stop and shoot".
When I do set up to take the shot the ever changing nature of light and atmosphere when out and about is the ultimate driver for how an individual landscape shot is approached and taken. The landscape photographer must always remain vigilant to changing conditions, the opportunities for a shot they may present or indeed the dangers they may represent. For example, even in poor weather a momentary break in the clouds may provide just the right illumination on a subject to create a unique image. Freycenet Dawn and Vayu (Air) are both great examples of that scenario.
Hard Planning
Despite this need to remain flexible in light of a fickle Mother Nature it is still important to approach landscape photography in a planned manner. Even if the ultimate subject of the shot is unknown, knowing where the sun or moon will be in the sky, what the weather outlook is for the area of interest or what sort of terrain to expect are all data points which guide the decisions of the photographer prior to leaving the comfortsof home.
I like to use 1:25000 Topological maps and my Garmin Montana 700i GPS to understand the terrain, I use an Australian service called Cloud Free Night to get access to accurate cloud-cover, rainfall and moonlight data (see screenshots). Cloud Free Night is a fantastic service which provides me with detailed multi-day cloud cover forecasts in map and chart form. I find the hour by hour map data particularly handy as I can examine the cover at high, medium and low altitudes. This gives me a very good idea of the likely lighting conditions at dawn and dusk - especially the 2 periods of Golden Hour* around these events.
*Golden Hour - the time period at dawn and dusk when the sun is in the 0°-6° range above the horizon.
Cloud Free Night - cloud cover animation
Cloud Free Night - 3-day cloud cover charts
Here showing the time and location from where Out Under The Sky was taken
The Photographer’s Ephemeris is a trademark of Crookneck Consulting LLC, registered in the United States.
Please visit their website at https://photoephemeris.com for more details
All other trademarks and logos remain the property of their respective owners
My Gear

Canon RF 15-35mm f/2.8 L IS USM
This lens is my day to day work horse. The clarity and light gathering is such a step up from the old kit lenses on my 7D.
Canon RF 70-200mm f/2.8 L IS USM
This lens is great for capturing elements of the landscape or tightening the framing of panoramas.
Only 1.6kg and fantastically tough. It has taken whatever was thrown at it and just keeps going.
with panning platform and quick release lever. Accurate and precise with reliable clamping.
After a little practice this plate becomes indispensable for swapping between portrait and landscape
Variable Neutral Density Filters
These Peter McKinnon Signature Edition II VND filters are superb. Excellent clarity and a wonderful haptic feedback system. I have a 2-5 and a 6-9 stop.
Image Display
- I use 2 x EV2455 FlexScan EIZO calibrated displays.
- Driven by an Nvidia P4000 Quadro graphics card with 8GB 256-bit GDDR5
- They are regularly calibrated using an X-Rite i1 Display Pro calibration tool
FlexScan EV2455
Nvidia P4000 Quadro
X-Rite i1 Display Pro
Image import and storage
I use Adobe Lightroom to import and perform intake processing on all of my images.
The image catalog and all of the raw files are stored on a self-built TrueNAS network attached storage device. The NAS runs ZFS and is currently 64Tb capacity with 64Gb of ECC RAM and 8 processor cores.
I chose ZFS so that I can continue to replace disks with larger ones to increase capacity and not run into the "maximum file system size" problems that can arise with other file systems.
HDR and Panorama Stitching
I use Adobe Lightroom as my HDR merging and panorama stitching workhorse.
Very occasionally I use Adobe Photoshop although I suspect the engines are the same for both.
For very difficult stitches I use PTGui. However, I have found that the majority of difficult stitches are actually impossible due to overlap errors.
Image processing
Wayback in the dim and distant past (1990 to be precise!) I started using page layout software called Aldus PageMaker. This eventually became Adobe PageMaker and then Adobe InDesign.
During that time I had a small graphic design business and was also using Adobe Illustrator. The use of these two eventually led me to use Adobe Photoshop when I started taking photographs so it seemed only logical to take a subscription to Adobe's Creative Cloud when they brought it out.
Now my A$80 a month gives me access to all these industry standard tools Lightroom, Photoshop, Illustrator and InDesign and, collectively, they make the process of creation pretty seamless and straightforward.
I use Creative Cloud in the following ways:
- Lightroom - Catalog Management, Lens correction, Clarity, Dehaze, Exposure, Simple Masking
- Photoshop - Spot Healing, Luminosity Masking, Complex Masking, Printer Profile Correction
- Illustrator - Graphic design
- InDesign - Document design, Book design and layout
I also use an excellent suite of AI driven processing tools for noise reduction, image sharpening and image enlargement from Topaz Labs. I find their products produce a very natural result free of the digital "blockiness" I have experienced when using other tools. The Topaz Labs tools are:
I have just begun to use Topaz PhotoAI which is a merging of the 3 tools above into a single interface. Topaz Labs also have a great video enhancement tool called Topaz VideoAI.
Last, but not least, I use the Wacom Intuos Pro M wireless drawing tablet. It has excellent drivers for the Creative Cloud Suite and makes the processing of images a much more natural experience compared to using a mouse.
Custom NAS using TrueNAS
Wacom Intuos Pro M
Framing & Handling
I want to say at the outset that framing aesthetics are very much a personal preference and the advice here focuses on the more technical reasons for framing and mounting in the manner described. You are, of course, free to frame and mount the images you purchase in a manner that suits you and/or the room into which the image is to be placed!
I reproduce all of my images using archival quality materials to ensure that your investment has the best chance of lasting for a very long time. I work closely with the wonderful Warren Macris at High Res Digital here in Sydney who brings a wealth of experience to the printing and retouching processes. Warren's many years in the business ensures that the end-to-end process from paper and ink quality to printer calibration and print production is carried out to the highest standards. Throughout the process all paper and prints are carefully handled with cotton gloves to avoid the transfer of acidic oils from the hands to the print or paper margins. The prints are then transported to you in large diameter tubes packed inside appropriately sized shipping cartons which ensures a minimum of bending stress on the print paper and excellent protection from crushing damage.
All of these procedures and precautions ensure that the print you have purchased arrives in perfect condition but it is important to realize that to truly protect your print over the long haul it must either be stored carefully in an acid-free album or else framed appropriately to protect it from moisture, acidity and UV radiation.
These notes provide you with a framing specification which you can take to your framer of choice and get a frame which will deliver the protection your investment deserves.
General Principles
The frame should house and protect the image but not draw attention to itself.
Try to keep all visible framing elements dark so as not to distort your vision’s interpretation of the image’s white balance. When your eye falls upon an image it seeks out the brightest points within the image and uses this white level to set a white balance for the scene being viewed. If the frame includes a large white border then your vision will use that as the "calibrating" white for the entire image. By keeping the framing dark this ensures that it is the white components of the image which set this calibration and so the image is viewed as the camera (and the author!) intended.
Always handle the image with cotton gloves to avoid transfer of low pH fluids from the hands to the paper. The acidic nature of the skin's oils and sweat can adversely affect the paper by damaging the structure of the paper and leaving it vulnerable to oxidative damage and marking.
Framing Stack
I build up a stack of elements to put into the frame as follows:
(the order is front to back from where the picture is viewed)
- Frame
- Glass
- Mat
- Image
- Backing Mat
- Backing Foam
Stack Properties
Frame
Image Size Suggested Width
Mural 6-9cm (2.5”-3.5”)
Feature 4-6cm (1.5”-2.5”)
Nook 2.5-4cm (1”-1.5”)
Color: Black
Glass
Non Reflective
99% UV Resistant
2.5mm thick
Conservation Grade
Matte finish
Mat
Museum Grade
Black
Acid Free
I usually make the window slightly smaller than the image by 2mm (~0.1”) all around
Suggested width of the mat borders
This is a matter of taste although along the bottom to it should be large enough to accommodate the print’s authenticity embossing:
Mural
70mm - Top, Left, Right
90mm - Bottom
Feature
50mm - Top, Left, Right
70mm - Bottom
Nook
30mm - Top, Left, Right
50mm - Bottom
Image
It’s printed on Hahnemühle Photo Rag 308gsm Ultra Smooth
Using these print margins:
Mural
40mm - Top, Left, Right
80mm - Bottom
Feature
20mm - Top, Left, Right
70mm - Bottom
Nook
20mm - Top, Left, Right
50mm - Bottom
Backing Mat
Museum Grade
White
Acid Free
Backing Foam
Non Adhesive
Acid Free
3-5mm thick (0.12”-0.2”) This will depend on the depth available in the frame.
Miscellaneous
I use the following products (all Acid Free). Your framer may wish to use other products of course but it’s best if their choices are also acid-free
Sekisui Framing Tape
- for sealing the frame
LineCo Self Adhesive Linen Hinging Tape
- for hinging the 2 Mats together
LineCo Gummed Paper Hinging Tape
- for attaching the image to the Backing Mat
The framing stack resulting from following the principles described here.
Embossing press, glass cutter and bone scraper
Glass weights used to hold the image steady when hinging the mat to the backing board
My Logan point driver for fixing the mounting stack into the frame
Self-adhesive linen hinging tape (lower roll) and gummed adhesive paper hinging tape (upper roll)
Sekisui 50mm (2") self-adhesive framing tape for creating a seal between the frame and the mounting stack
My prototype lightbar - CRI99@5000K